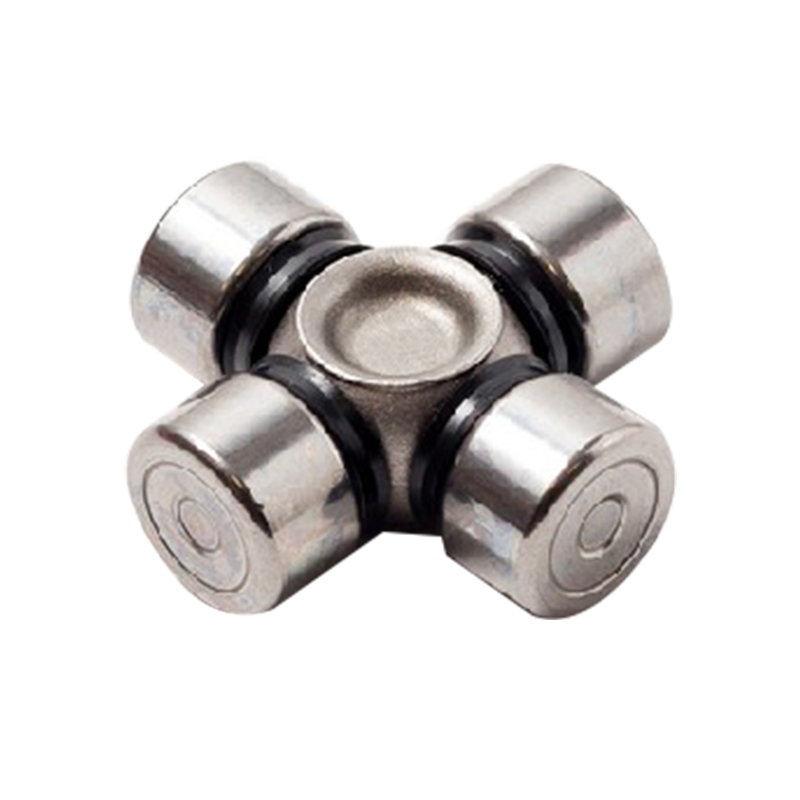
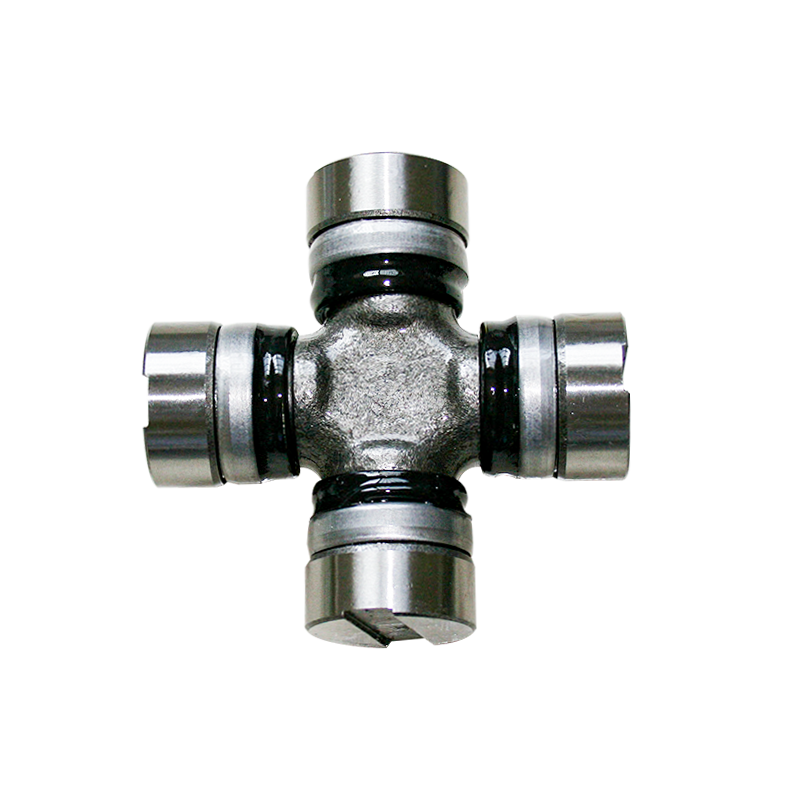
The universal joint (U-joint) is a vital part of your vehicle’s drivetrain, allowing the driveshaft to flex and articulate as it transmits torque. Over time, U-joints can wear out or fail, leading to vibrations, clunking sounds, or even catastrophic drivetrain damage if left unaddressed. Replacing a faulty U-joint is a challenging but doable DIY task with the right tools and care.
This guide covers everything from symptoms to final installation.
Symptoms of a Failing U-Joint
Before beginning a replacement, confirm your U-joint is indeed the culprit. Signs include:
Clunking noises when shifting from drive to reverse
Vibrations while driving, especially at higher speeds
Visible rust, looseness, or worn seals around the U-joint
Grease leakage from the bearing caps
Shaft movement when twisted by hand with excessive play
Tools and Materials Needed
Jack and jack stands or vehicle ramps
Wheel chocks
Safety glasses and gloves
Wrenches or socket set (typically 10mm–15mm)
Needle-nose pliers
Hammer and drift/punch
C-clamp, bench vise, or ball joint press
New U-joint (correct type for your vehicle)
Snap ring pliers (if applicable)
Grease (for greaseable U-joints)
Torque wrench
Brake cleaner or degreaser
Step-by-Step Replacement Process
1. Preparation and Safety
Park the vehicle on a level surface.
Set the parking brake and chock the wheels.
Use a jack and stands to safely raise the vehicle (if needed).
Mark the driveshaft orientation in relation to the differential flange using a paint marker. This ensures it’s reinstalled in the same position to maintain balance.
2. Remove the Driveshaft
Locate the rear U-joint flange where it connects to the differential.
Remove the U-joint strap bolts or U-bolts. Set them aside.
Carefully slide the driveshaft forward to disengage it from the rear axle yoke.
Lower the driveshaft while supporting its weight.
Gently pull it from the transmission or transfer case. Be cautious—fluid may leak.
3. Remove the Old U-Joint
Secure the driveshaft in a vise or on a solid surface.
Use snap ring pliers or needle-nose pliers to remove the U-joint retaining clips.
Using a ball joint press, C-clamp, or hammer-and-socket method, press or tap out the bearing caps one at a time.
Be careful not to damage the driveshaft yoke ears.
4. Clean and Inspect
Clean the yoke and bearing holes with brake cleaner.
Inspect for cracks, distortion, or burrs on the yoke. Damaged yokes can ruin new U-joints and cause vibrations.
Lightly sand or polish the inside surfaces if rusty or pitted.
5. Install the New U-Joint
Carefully insert the U-joint cross into the yoke.
Install one bearing cap slightly, then press or tap it into place using a vise or socket tool.
Repeat with the opposite cap, ensuring the cross aligns properly.
Once the caps are seated, install the new retaining clips (listen for a “snap” to confirm they’re locked in).
Check for free movement of the joint. It should rotate smoothly with no binding or looseness.
6. Reinstall the Driveshaft
Insert the driveshaft back into the transmission or transfer case, being careful with the splines and seals.
Align the driveshaft using your previously marked alignment marks.
Bolt the U-joint straps or U-bolts back to the differential flange.
Use a torque wrench to tighten the bolts to spec (typically 14–20 ft-lbs, but refer to your service manual).
Check that there is no excessive play and that clips are fully seated.
7. Final Checks
Refill any lost transmission fluid if needed.
Lower the vehicle and remove wheel chocks.
Test drive slowly, listening for unusual noises or vibrations.
If present, re-check torque, clips, or signs of binding.
Tips & Warnings
Always wear eye protection when working under a vehicle.
Do not drive with a partially installed or faulty U-joint—it could result in complete driveshaft failure.
Replacing U-joints on aluminum or composite driveshafts requires extra care and sometimes specialty tools.
When to Replace All U-Joints
If one U-joint is bad, others may follow. On a two-piece driveshaft or high-mileage vehicle, it’s often smart to replace all U-joints at once, especially if vibration or play is felt at more than one joint.
Conclusion
Replacing a universal joint is a critical part of maintaining a healthy drivetrain. While it can be messy and physically demanding, this DIY task saves hundreds of dollars in shop labor and gives you a deeper understanding of your vehicle’s mechanics. Done right, your new U-joint will restore smooth operation and keep you driving vibration-free.

 English
 Español
 中文简体
中文简体


Contact Us